The AI Image Generator in the Semrush Content Toolkit lets you generate and insert visuals into your blog posts directly from the editor.
You simply enter a prompt, and the AI generates a unique image.
This eliminates the need to browse stock libraries, request assets from designers, or pay for separate design tools.
This guide shows you how to generate and insert AI images into your new or existing posts.
Why Use AI Images in Your Blog Workflow?
Adding visuals to your blog posts can improve the reader experience, boost on-page engagement, and positively affect search engine rankings.
However, finding the right image or creating one from scratch often requires time, budget, and design resources.
There’s also the added complexity of licensing and usage rights.
The AI Image Generator speeds up this process. It helps you:
- Quickly generate custom visuals that support the points you’re making
- Avoid generic photos that feel off-brand or overused
- Save time, money, and effort by skipping manual design tools or hiring professional help
- Improve readability by breaking up large blocks of text
- Increase engagement with relevant visuals that capture attention
How to Generate AI Images For a New Article in Content Toolkit
Here’s how to use Content Toolkit to generate and insert AI images directly into the article you’re drafting.
Step 1: Launch the AI Article Generator
- From the Content Dashboard, click Create content, select the article format, and click the arrow button to proceed.

- Confirm or modify the suggested article setup details. This includes your audience location, content title, word count, and so on.

- Once everything is set, click Generate article to create your first draft.
Step 2: Open the AI Image Generator
Once your draft is ready, you can start generating images right there in the blog editor.
Click the Images icon from the right-hand navigation bar.
Then, select the AI image tab in the panel to begin.

Step 3: Enter a Prompt for Your Image
Type a clear and descriptive prompt that captures the essence of the visual you want to add to your post.
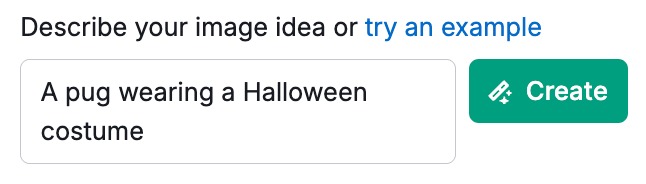
Prompt examples:
- “A pug wearing a Halloween costume”
- “A minimalist office desk setup with a laptop and coffee mug”
- “Person hiking in the mountains during sunrise”
Once you’ve entered your prompt, click Create to generate the image.

If you’re not satisfied with the result, you can regenerate it.
Step 4: Insert the Image Into Your Article
Once you’re happy, click on the image or select Paste at editor cursor to place it directly into your article.
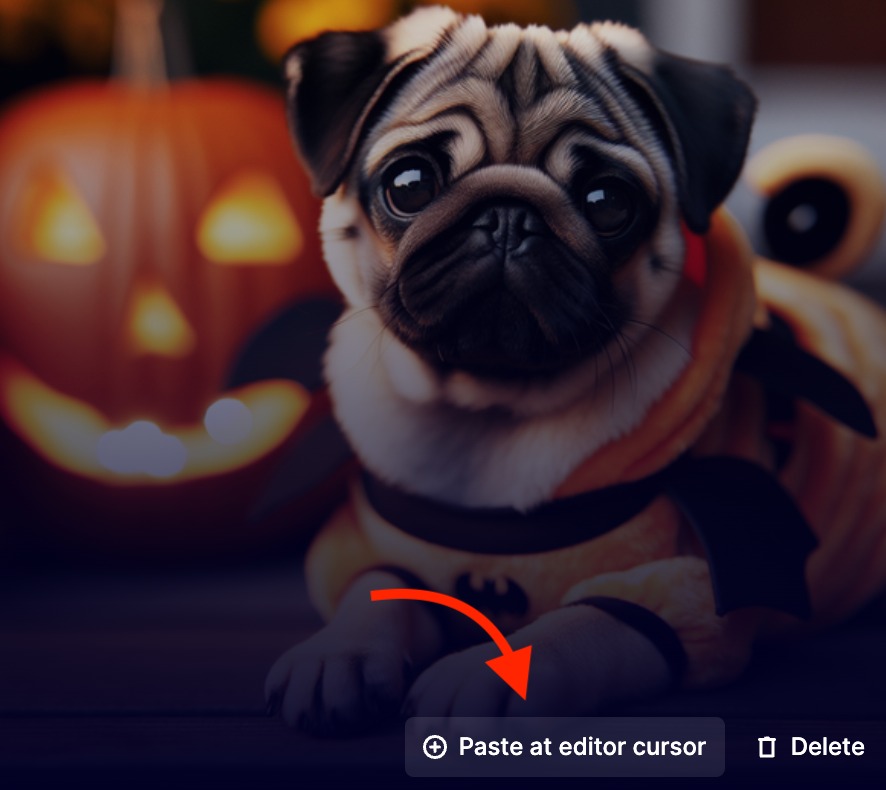
You can move the image within the editor, add, update or remove the alt text, as you want.

How to Add AI Images to an Existing Draft in AI Search Optimizer
You can also add AI-generated images to drafts you’ve already written, via the AI Search Optimizer tool.
Here’s how.
Step 1: Add Your Draft to AI Search Optimizer
- On the Content Dashboard, click "Optimize existing article."

- Choose how you want to import content:
- From our suggestions. Pick one of the articles that Semrush recommends optimizing based on your domain performance.
- Paste from the clipboard. Insert any text manually.
- From a URL. Enter the web address of the page you’d like to analyze.
- From existing content. Select an item you’ve already created or imported into My Content.
-
Add your existing content into the editor. The tool will then open an editor with the suggested improvements.

Step 2: Generate an AI Image
Click the Images icon in the right-hand panel. Select the AI image tab and enter your prompt—just like you would when editing a new article.
Then click Create to generate the image.

Licensing and Usage Rights
All AI-generated images in the Content Toolkit are safe to use across blog posts, social media, and WordPress websites.
However, for the best results, avoid using prompts that mention real people or trademarked brand names.